Winter
Winter Camping for Beginners
What to expect, what to bring, and how to avoid common mistakes.

By William Blacklock · Last updated April 2026

The quick answer
- Best beginner version: a drive-up state-park cabin or yurt with a wood stove or electric heat. You get the snow, the quiet, the early sunsets, and the campfire — without sub-freezing tent risk on your first try.
- Main risks: hypothermia, frozen water and stoves, frostbite on exposed skin, daylight scarcity, and storms that can shut access roads in hours. None are dangerous if you plan for them, but every one of them is unforgiving of carelessness.
- Beginner focus: match the shelter to the temperature. Below 20°F, do not tent on your first winter trip. Below 0°F, do not tent at all without an experienced partner. Above 25°F with a 4-season tent and a 0°F bag is a real beginner opportunity, especially in the southeast and the desert southwest.
What makes winter different
Weather
- Below freezing for days at a time. The cold isn't the brief overnight dip of fall — it's the sustained condition. Everything in the gear list has to work cold and stay working cold.
- Daylight scarcity. Sunset by 4:30pm in much of the country in December. Useful daylight is 8–9 hours instead of 14.
- Wind and wind-chill. A 25°F night with a 20 mph wind feels like 10°F to your face. Wind also flattens 3-season tents that would shed any snow load fine in calm air.
- Snow load. Wet snow at 28–32°F is heavy. A 3-season tent with a flat roofline can fail under a foot of overnight accumulation. 4-season tents have steeper walls and stronger poles for this reason.
- Storms close roads. Forest service roads, state park access roads, and even some interstates close fast in winter. Always have an escape plan that doesn't require driving up a mountain.
Gear adjustments vs. fall
- Sleeping bag rated to 0°F or lower (not 20°F). A bag liner adds 5–10°F more.
- Sleeping pad with R-value 5 or higher. A pad with R-value 3 — fine in fall — is dangerously cold below 20°F. Two pads stacked (closed-cell foam under inflatable) is the proven combo.
- 4-season tent if you'll see real snow load or wind, or a heated cabin or yurt instead.
- Liquid-fuel (white gas) stove for sub-freezing temps. Propane works in a pinch with canister-warming tricks.
- Insulated water bottles AND a plan to keep them from freezing overnight.
- Real winter clothing: shell jacket and pants, insulated boots rated to at least 0°F, mittens and a warm hat that covers ears.
Common beginner mistakes specific to winter
- Trying to tent in a 3-season tent at 15°F because the trip is “just one night.”
- Wearing cotton anywhere — including socks, t-shirts under base layers, and jeans on the drive in.
- Sweating during setup, then getting still and cold.
- Not drinking water because no one feels thirsty in the cold.
- Leaving water bottles in a cold tent vestibule overnight and waking up with ice.
- Underestimating how long every task takes in winter — pitching, cooking, packing all take 2–3x longer with cold hands and gloves.
What to pack
Shelter
- Best beginner option: a state-park cabin, yurt, or heated shelter. Many state-park cabins rent for $60–$120 per night and book up further in advance than tent sites do. Reserve 3–6 months out.
- If tenting at 25–35°F: a high-quality 3-season tent with a full-coverage rainfly, staked aggressively, in a campground at low elevation. A 4-season tent is better.
- If tenting below 25°F or in any real snow: 4-season tent, dedicated snow stakes or stuff-sacks-as-deadmen, and a foam pad at the base of every pole socket.
- 0°F sleeping bag per person; a 20°F bag is a non-starter for tent camping in real winter.
- Two sleeping pads stacked: a closed-cell foam pad on the bottom (R-value 2) and an inflatable on top (R-value 4+). Total R-value matters more than which brand.
- Vapor barrier liner or a fleece liner inside the bag for sub-zero nights.
- Pee bottle if you don't want to leave the tent at 3am. Mark it clearly and never confuse it with the water bottle.
Clothing — the layering system matters more than any one piece
- Base layer: synthetic or merino wool top and bottom. Sleep in a fresh dry set.
- Mid layer: a light fleece or grid fleece for active hours.
- Insulation: a real puffy jacket. A second insulating piece (synthetic puffy or heavy fleece) for camp.
- Shell: waterproof, breathable shell jacket and shell pants.
- Insulated winter boots rated for at least 0°F. Hiking boots are not winter boots.
- Two pairs of wool or synthetic socks per day — change to dry socks at lunch.
- Wool or synthetic glove liners under insulated mittens. Mittens beat gloves below 20°F because they let fingers warm each other.
- Beanie or balaclava that covers ears. A second one to sleep in.
- Sunglasses or goggles. Snow glare causes real eye strain on sunny winter days.
- No cotton, anywhere, ever — including the t-shirt under your base layer.
Cooking and water
- Liquid-fuel (white gas) stove for sub-freezing camping. Propane works above 20°F if you keep canisters warm in your jacket.
- 2x the fuel you'd bring in summer — most of it goes to melting snow into water, not cooking.
- Insulated water bottles, not metal canteens or flimsy plastic.
- Bring 1.5 gallons of drinking water per person per day; campground spigots are off, and melting snow is slow and fuel-heavy.
- Hot drinks at every meal — coffee, tea, broth. Calories and warmth in one motion.
- High-fat, high-calorie meals. Cold burns calories faster; aim for 4,000–5,000 per person per day on active winter days.
- Bottle parka or insulated bottle sleeves to slow the freeze.
- Sleep with one full water bottle (filled with hot water at bedtime) inside your sleeping bag for an unfrozen drink in the morning.
Safety and comfort
- Headlamp per person with lithium batteries. Lithium handles cold better than alkaline. Carry a backup headlamp.
- Bright lantern in the cabin or vestibule; you'll cook every dinner in the dark.
- Hand warmers and toe warmers — pack twice as many as you think you need.
- Emergency space blanket per person. Cheap, light, and the only thing in the kit you actually do not want to use.
- First aid kit including blister care and a chemical heat wrap for warming a cold sleeping bag.
- NOAA weather radio or pre-downloaded forecasts; cell coverage at most winter parks is limited.
- A real plan for getting out if a storm rolls in: who knows where you are, what time you'll be back, what road you'll be on.
- Avalanche awareness if you'll travel in mountain backcountry. A campground in the trees is fine; a snowshoe up a 35° slope is not. If you're unsure whether your route is in avalanche terrain, the answer is to not go.
The mistakes that wreck most first winter trips
These are the practical errors that turn a good idea into a hard story. Each one is fixable with one decision before you leave.
- Tent-camping on the first winter trip. The recurring beginner story is “I'd never camped properly before — I went solo in winter — I hadn't tested any of the gear,” and it's a story that ends in luck more than skill. Do the cabin, the yurt, or the heated lodge first. Learn water management, layering, and dawn cooking in a setting where a mistake is uncomfortable, not dangerous. Get a fall trip below freezing in before any tented winter night.
- Bringing a 20°F bag below 20°F. Bag ratings are survival numbers, not comfort. Beginners who tested a 20°F bag in 27°F backyards report waking up cold; in real winter, that bag is a long sleepless night even with every layer on and clothes stuffed inside. Buy or rent a 0°F bag.
- Skipping the sleeping pad upgrade. Cold ground steals more body heat than cold air. R-value 3 in fall, R-value 5+ in real winter. Two pads stacked — closed-cell foam under inflatable — is the easy fix and the one most experienced winter campers settle on.
- Cotton anywhere. Cotton holds sweat, freezes, and conducts heat away from the body. Synthetic or wool for everything that touches skin. The cotton t-shirt you forgot you were wearing under the base layer is the thing that gets you.
- Sweating during setup. Strip a layer before you pitch the tent, haul firewood, or shovel snow. Stop before you sweat. Put the layer back on the moment you stop moving — damp base layers in 25°F weather is how hypothermia starts, not subzero air.
- Not drinking water — and not eating before bed. Cold dulls thirst, and dehydration multiplies hypothermia risk. Drink a liter on arrival, a liter at lunch, and a liter at dinner. Eat a high-fat snack in the bag before sleep — beginners consistently report it's the difference between a warm night and a shivering one.
- Storing water bottles outside or in the vestibule. Fill bottles with hot water at bedtime, store them upside-down (water freezes from the top, so the cap stays free), and keep one inside the sleeping bag with you. A frozen bottle in your bag won't melt fast enough to drink in the morning if you didn't start it hot.
- Underestimating the daylight loss. Set up by 3pm in December. Cooking dinner in 5°F dark with cold hands is the kind of stress that burns through good attitudes fast — and a headlamp won't make a stove easier to light if your fingers won't bend.
- No turn-around plan. Storms in winter close roads in hours, not days. Always have a way to leave that doesn't require an unplowed mountain pass at 9pm — and tell someone outside your party exactly when you'll be back.
A starter setup that actually works
Most of the products that make sense in summer don't make sense in winter. The honest list below pairs a few proven entries with deliberately generic recommendations where there isn't a clean drive-up-friendly link. Buy or rent the warm pieces — a 0°F bag and an R-5 pad are not optional.
- Shelter (cabin or yurt). Reserve a state-park cabin, yurt, or heated shelter on Recreation.gov, ReserveAmerica, or your state's park system. This is the right beginner shelter for trip one — not a tent. If you want a tighter scope, run a First Night Camp at a heated cabin and keep gear failures to one variable.
- Tent (only if conditions allow above 25°F, low elevation, no snow forecast). A 4-season tent is the right call. The Coleman Sundome 4-Person is a 3-season tent and not the right shelter below 25°F or in any real snow load.
- Sleeping bag. A 0°F mummy bag from a reputable brand. Rent rather than buy if this is a one-trip experiment — most outdoor stores rent 0°F bags for $15–$25 per night.
- Sleeping pad. Two pads stacked: a closed-cell foam pad (R-2) on the bottom, an inflatable (R-4+) on top. Total R-value 6 is the right target for sub-20°F nights.
- Stove. A liquid-fuel (white-gas) stove for real winter. The Coleman 1-Burner Propane Stove works above 20°F if you warm the canister against your body before lighting; below that, switch to liquid fuel.
- Lighting. LuminAid PackLite Max 2-in-1 (~$75). Useful daylight ends at 4:30pm in December — the lantern is on for the whole evening.
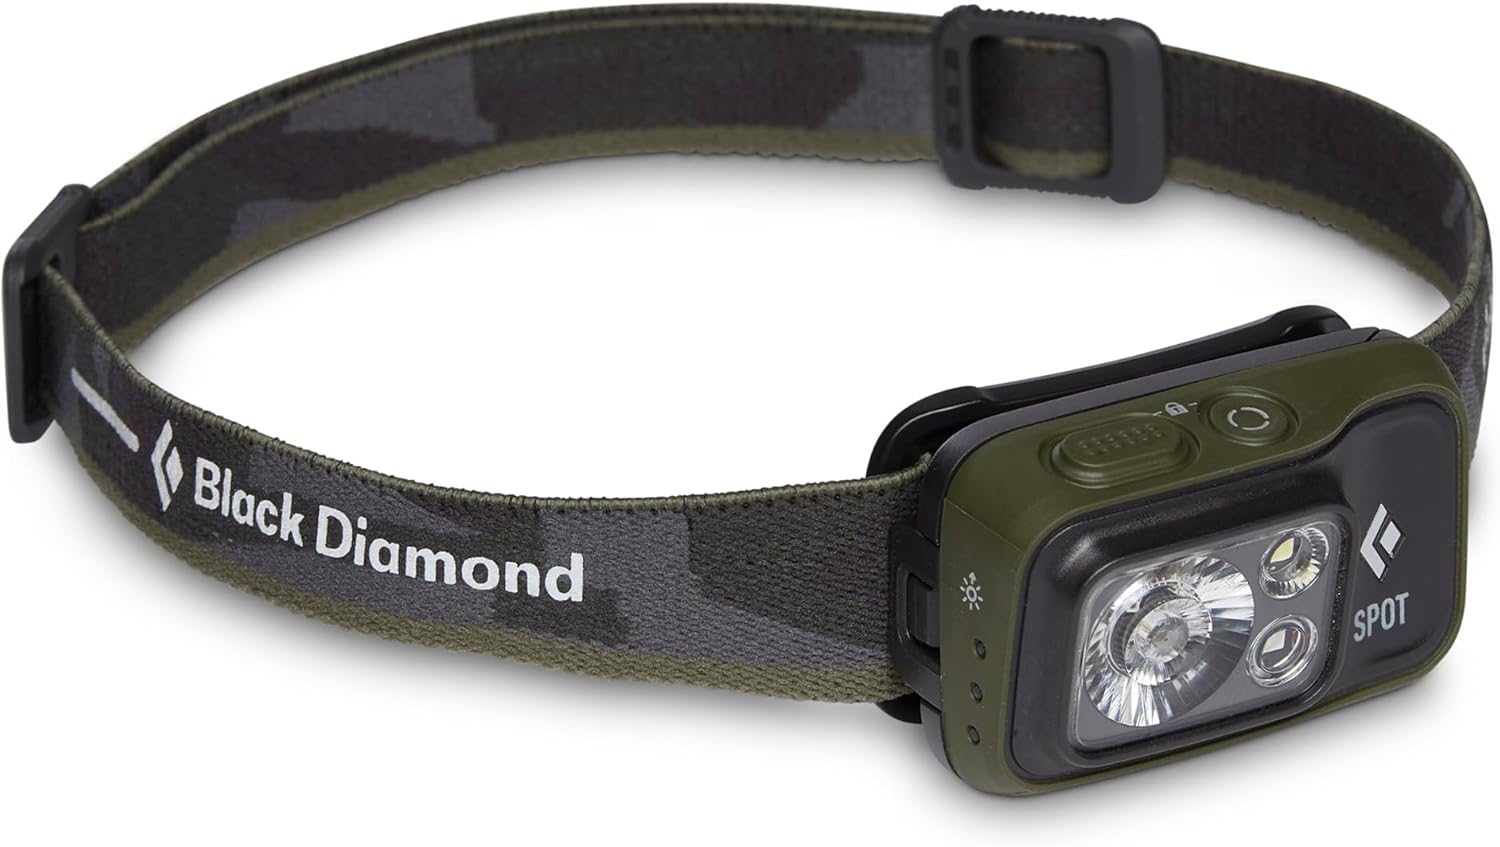
- Headlamp. Black Diamond Spot 400 Headlamp (~$60). Run it on lithium batteries in winter, not alkaline. Carry a backup.
- Camp chair. GCI Outdoor Freestyle Rocker (~$80). Throw a closed-cell foam pad on the seat to insulate from cold metal.
- Insulated boots. Pac boots or insulated winter boots rated to at least 0°F. Brand-agnostic — buy what fits with thick wool socks and what you'll wear walking around camp for hours.
- Mittens, hat, base layers. A real layering kit — synthetic or merino base layer, fleece mid, puffy insulation, waterproof shell. Brand-agnostic; buy or borrow what fits.
Where this fits in the plan
For a first cold-weather trip, the right move is the smallest one — a heated cabin within an hour of home. Take the 5-second quiz and we'll match a starter plan to your dates, party size, and the heat available at the site you're considering.
Frequently asked
Should beginners actually go winter camping?
Not in a tent below 20°F. Start in a heated cabin or yurt. You'll learn the routines — water management, layering, dawn cooking — in a setting where a mistake is uncomfortable, not dangerous. The tent trip can come after.
What is the difference between winter camping and snow camping?
Winter camping usually means a drive-up campground in cold weather; snow camping means sleeping out in the snow itself, typically in a 4-season tent reached by snowshoe or ski. The gear, calories, and risk are all different. This guide covers the drive-up version.
How cold is too cold for tent camping?
For a beginner in a 3-season tent, anything below 20°F is too cold. Below the teens you need a 0°F bag, an R-5 sleeping pad, and ideally a 4-season tent. Below 0°F is dedicated winter-camping territory, not a beginner trip.
Will my water bottle freeze overnight?
Yes if it's outside or in the vestibule. Fill bottles with hot water at bedtime, store them upside-down (water freezes from the top, so the cap stays free), and keep one inside your sleeping bag with you for morning.
Do propane stoves work in winter?
Marginally. Standard propane loses pressure as the temperature drops and stops flowing well around 14°F. Liquid-fuel (white gas) stoves are the cold-weather standard. If you stay with propane, keep canisters in your jacket and warm them in your hands before lighting.
What is the actual risk in winter camping?
Hypothermia, frostbite, and dehydration. Hypothermia is the dangerous one and it doesn't require extreme cold — cold plus wet plus tired is enough. Stay dry, eat more than you think you need, drink water you don't feel thirsty for, and turn around early if anyone is shivering hard.
Do I need a 4-season tent?
For a low-elevation campground above 25°F with no snow forecast, a high-quality 3-season tent works. For real snow load, sustained sub-20°F, or any wind, the 4-season tent is the right call. The honest beginner answer is: rent a cabin instead.